Here is part 3 of ‘For the beginner photographer: starting with photography’. In this part I’m going to explain about Shooting Preparation, Flash, using Filters and more Post Processing. Now you know and understand the basics it is time to go out and shoot photos. But, hang on, we need to prepare ! Where do we go ? What are we going to shoot ? And what gear do need to bring ? Also I will explain something about Flash. I rarely use flash and my knowledge about using flash is limited, but for what I know I will share with you. Something else that I think is quite important is the use of filters. As a beginner photographer I think it is essential that you know about this.
Preparation
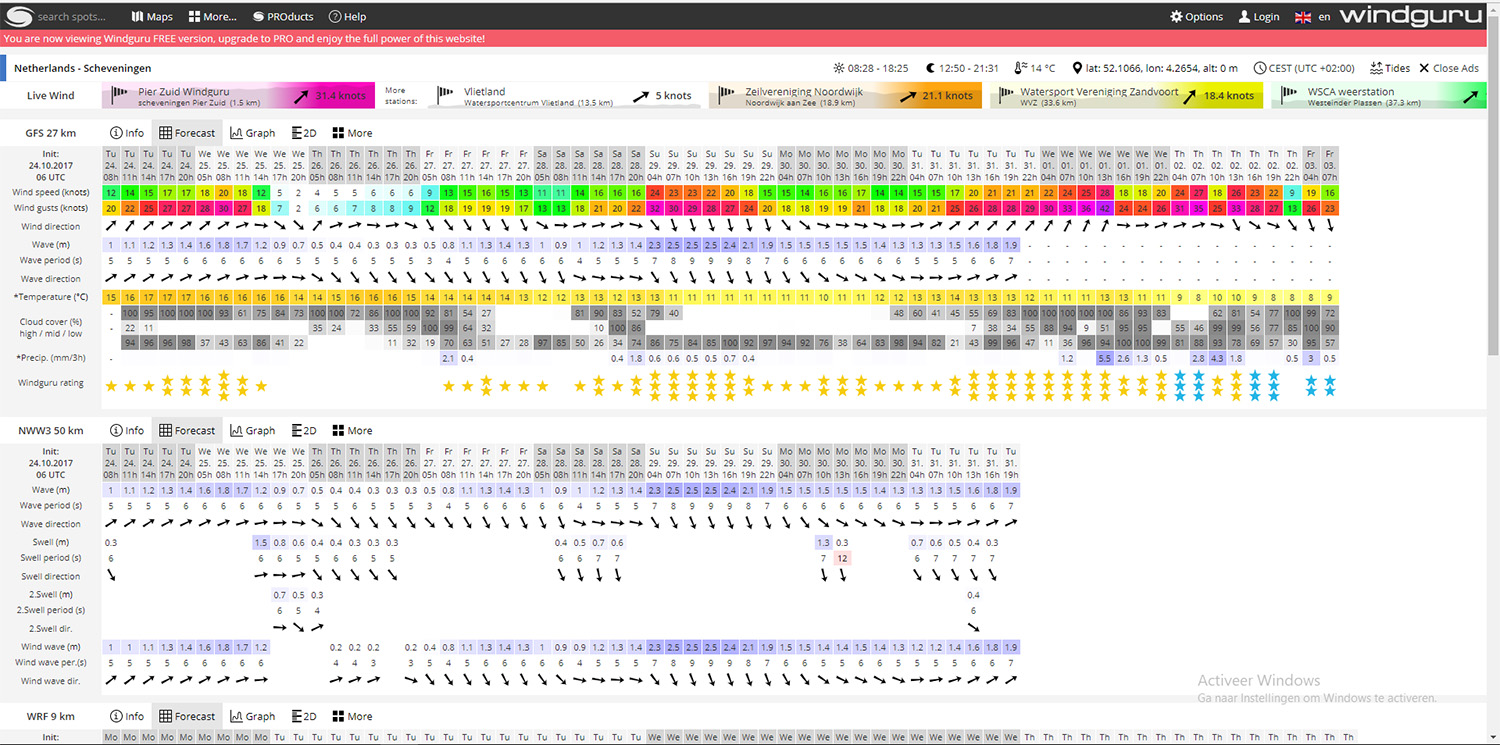
Beginner photographer and pro photographer alike, they all need to prepare for a trip. Especially if you are a landscape shooter or if you going to shoot outdoor like sunset, city- and seascapes. There are various websites were you can check the weather forecasts and this quite important. Last time I went out to do some sunset and seascape shooting I didn’t check the weather. When I arrived at the beach the wind was blowing freely with 30 knots, gutsing to 35 knots. So I could forget that shoot. There is no way to keep the tripod steady. My plan was to shoot the golden hour with my new set of ND filters. I was so happy with the filters that I forgot to check the weather.
One of the websites that I use is Windguru.cz. Here you can check Wind, Waves, etc. very handy when you go to the beach. Surfers and other watersporters use it a lot.
Checking the weather is not the only thing to think of. You also need to check the sunset/sunrise times in case you want to do sunset and surise photos. And you need to know if there are clouds. I like clouds, they give Drama to the scene. 🙂 But there is more. Calculate your travel time from your house to the location. You don’t want to miss the Golden Hour of Sunset for example. When you know all these things you also know which gear you should bring. Travel Tripod or the sturdy one ? Filters or not ? A wide lens or will the standard zoom be enough ? You see, all these things together determine also how heavy your photobag will be and how long you will be on the road.
Light
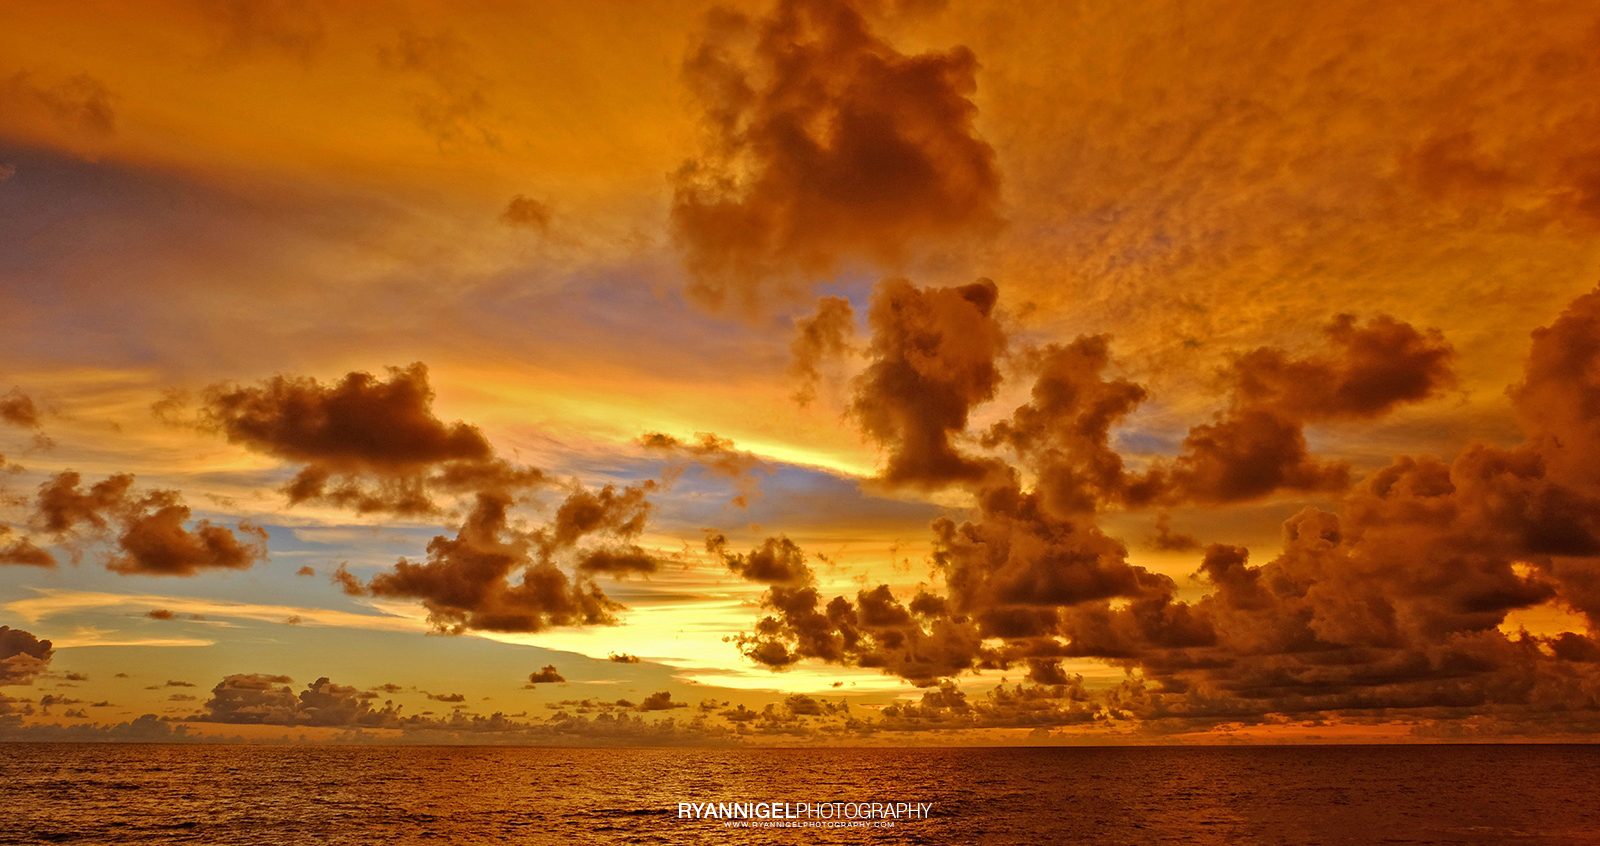
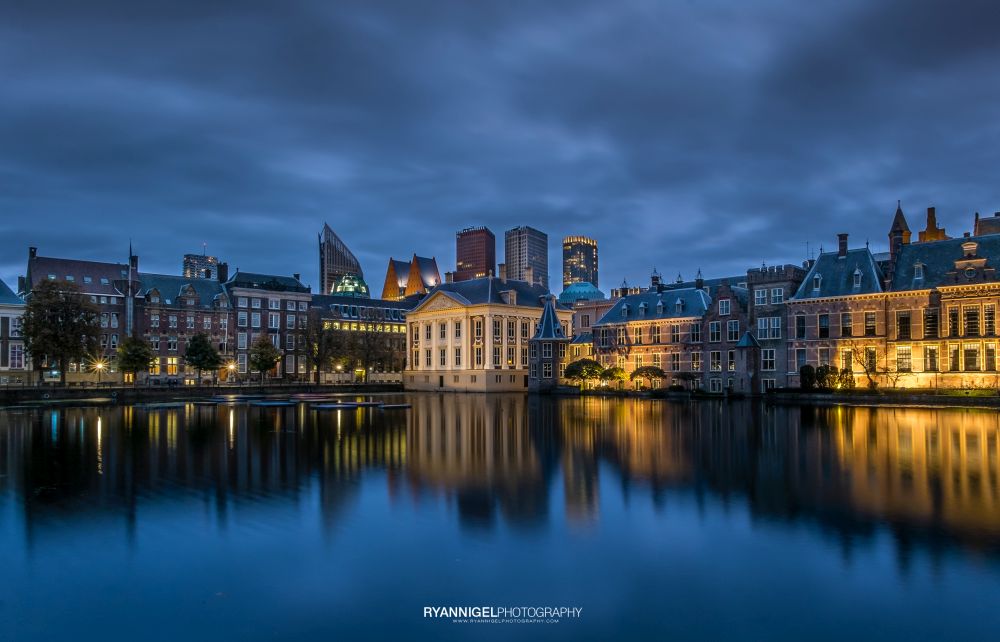
Another very important point is light. Check how the light is. Good light gives good lit scenery. In general you have the best light in the morning and late afternoon. This is very important for landscape shooters. If you shoot sunset, the best light comes AFTER the sunset. The sky color will be so nice so intense. Click om my post about sunsets ( and more sunsets) and you will see why. Same with sunrise. The best sunrise light you get just BEFORE the sun rises. The problem with sunset and sunrise is that those moments of light don’t last long. Max. 20 minutes. In photography jargon they call it the Golden Hour of light, but it’s more like half an hour 🙂
Light is also ever changing. Clouds can cover the sun, giving different light on the subject. Also one day it’s nice and the next day you go out to shoot, it can be very dull and grey. It is your own creativity how you deal with that. Even grey dull weather can be a joy to shoot. So even when the light is not optimal let your creativity work and do something with it.
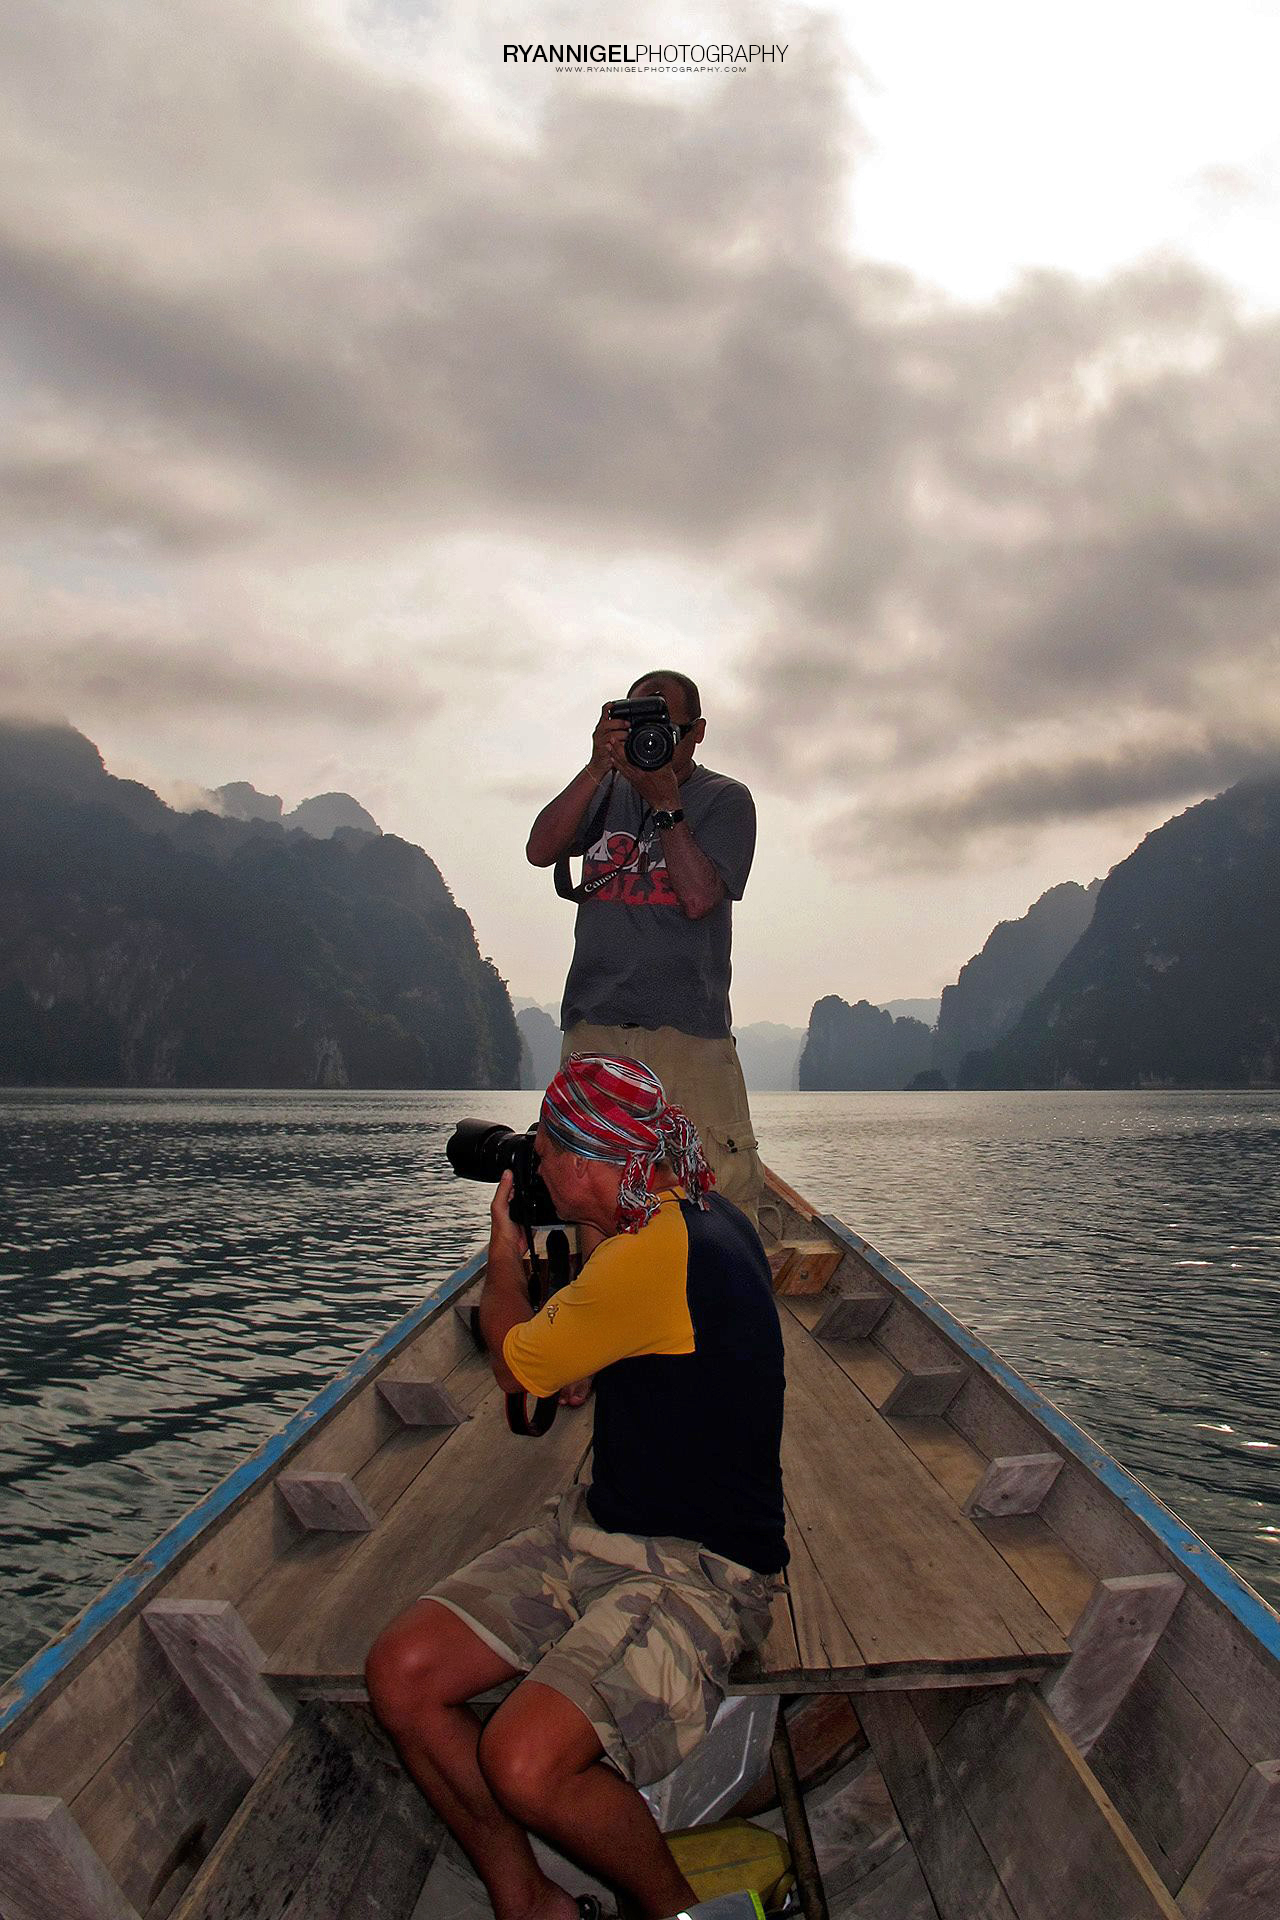
The beginner photographer needs to learn to ‘see’ good light and learn how to use it. I don’t know how to write it down, but good light you can see. It is very hard to describe what is good light. In the photo above (from the boat) the sunlight is so hard and direct. I will look in my photo stock if I got a photo taken in bad light.
Ah ! I found one ! Now the photo below is a good example of bad trip planning, bad light and bad shooting. 🙂 So what’s wrong ?
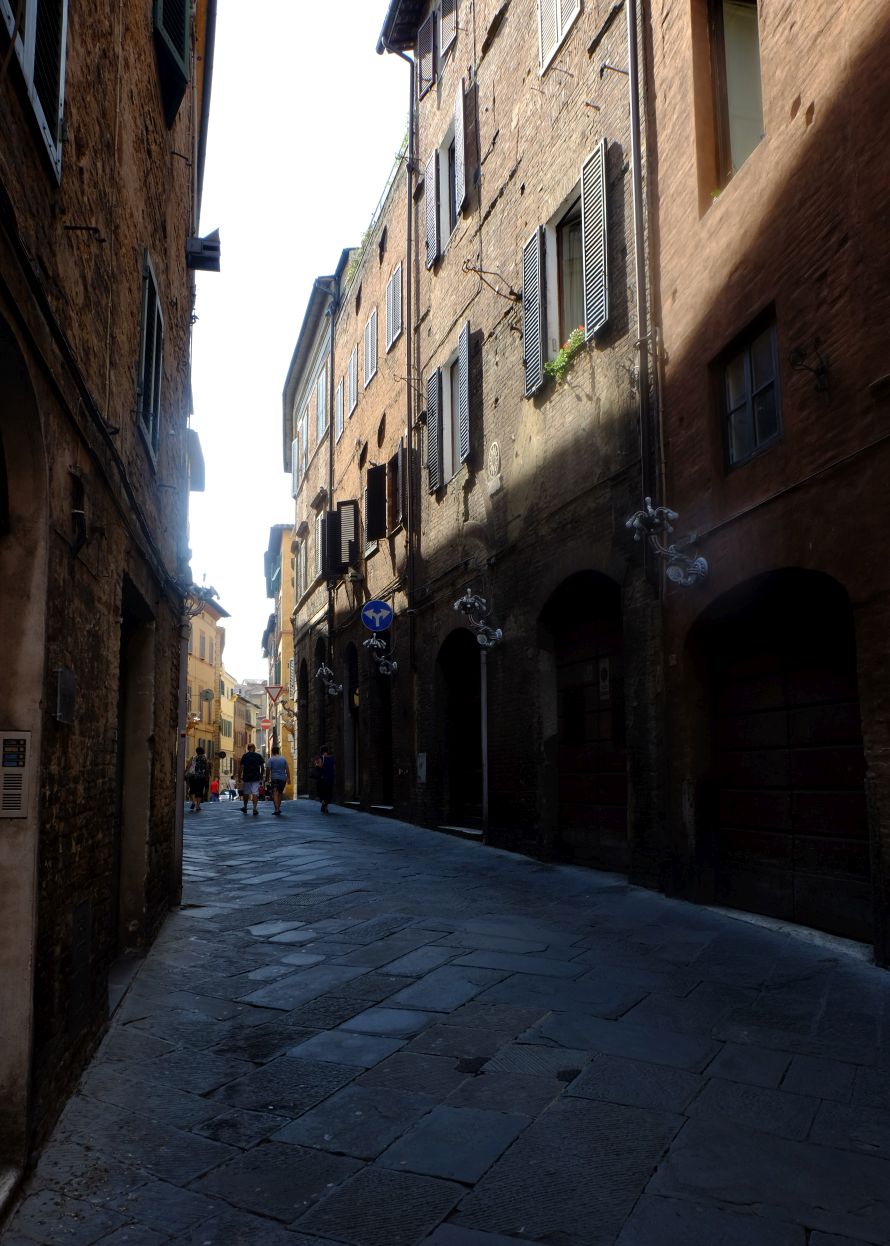
First, shooting against the sun. Second, the trip preparation. I just went to Siena with no clue at all 🙂 Siena got small streets, high buildings and at that day bright hard sunlight. Also I only brought my standard 16-55mm zoom lens and no suncap. The bright hard sunlight creates hard dark shadows. The sky will be blown out if you meter for the street and the street will be black if you meter for the sky. No tripod with me, so no HDR possible. I also started walking from the wrong direction, against the sun. You see, if I prepared my trip better i could avoid many of this. That’s why good trip preparation is important. Now i have to go back to do it again 🙂 What a shame 🙂
Using Flash
As said I don’t have so much knowledge about using Flash. Flash can be used in many different ways. You can you direct flash, pointing the flash straight on the subject, you can use indirect or bounce flash and there are more options. In this write up i will keep it very limited, because flash photography is something really special. Flash photography isn’t just a back-up for shooting in low-light conditions; it’s an art form in its own right.
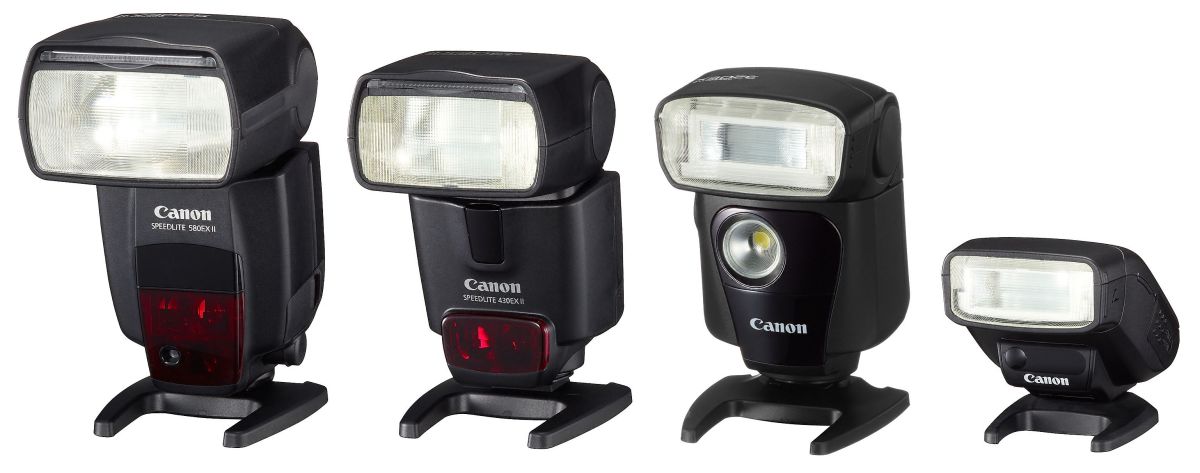
Most DSLR and some mirrorless cameras have built in pop up flashes. You can also buy a flashgun. The differences in the various flashguns are size, light output (guide number), recycle time, moveable head, remote trigger, etc. But there is more: you have also strobe flashes. These flashes are used in studios and large open air photoshoots. They are large, take a lot of power and use large tripods.
Studio and portrait photographers use flash all the time. But landscape photographers use flash too, sometimes. Depending on the subject and the light, they can use fill in flash.. For example: If you have a strong backlight object you can use a flash to compensate. That is what we call fill in flash.
Imagine you’re shooting outdoor portrait photography in the midday light. Unless you’re in an area of open shade, the chances are that the direct, bright sunlight will cause heavy shadows to fall on your subject’s face. These can often be too harsh and unsightly, especially under the eyes. It’s easy to eliminate these shadows by activating the pop-up flash and using it to ‘fill’ areas of shadow. You could use a flashgun, but the pop-up will be powerful enough on most occasions and saves you carrying additional gear when you’re out and about.
As said, i don’t have a lot of knowledge about flash photography. But I understand the basics and know how to use it. On the website of TechRadar there is a very good tutorial with images about how to use flash. I suggest you have a look. Click here to read the full article.
More Post Processing
This write up is for people who know more about post processing. If you know how to use Lighroom for example you can make a photo going from ‘boring’ to Wow ! The things you can do with Lightroom (and other programs) are really spectacular.
Tecnically a camera have limitations over the human eye. Therefore the camera can never see what the human eye can see. However…. The sensor does record a lot of data. The better the sensor, the higher the dynamic range, the more data you have available in post processing. It is always important that you shoot your images in RAW files. RAW files record more data and are less compressed than JPG files. The better the quality of the RAW file the more flexible you are in post-processing. For example: the new Nikon D850 is a dynamic range monster with 14 bit RAW files. You can do quite a lot with it. If you compare these files to for example the Canon 5D mk4 the Canon files are a lot less flexible due to the lower dynamic range from the camera sensor. Meaning: you cannot push the files as much as with Nikon.
Now I can write a lot about how and what you can do with post processing. The video below is from YuriFineArt, one of the YouTube Channels that I follow and I use it also to update my own level of post-processing. This video sums it all up 🙂 Just watch the video and you get my point.
It is up to your own taste how far you want to go with post processing. Personally, I like this style. It is something I can do for hours. Then you got HDR and exposure staking. Techniques where you use 3, 4, 5 photos and blend them all together. I will make a separate post about this technique.
Another favourite of mine is Jim Mcintyre’s Easy Panel. This is an add-on for Photoshop and offers some powerful processing tools. The tool that i like the most is the Detail Enhancer. In short: the add-on creates a mask over your photo and enhances all the fine detail. You can edit to your own taste. Click here to read more.
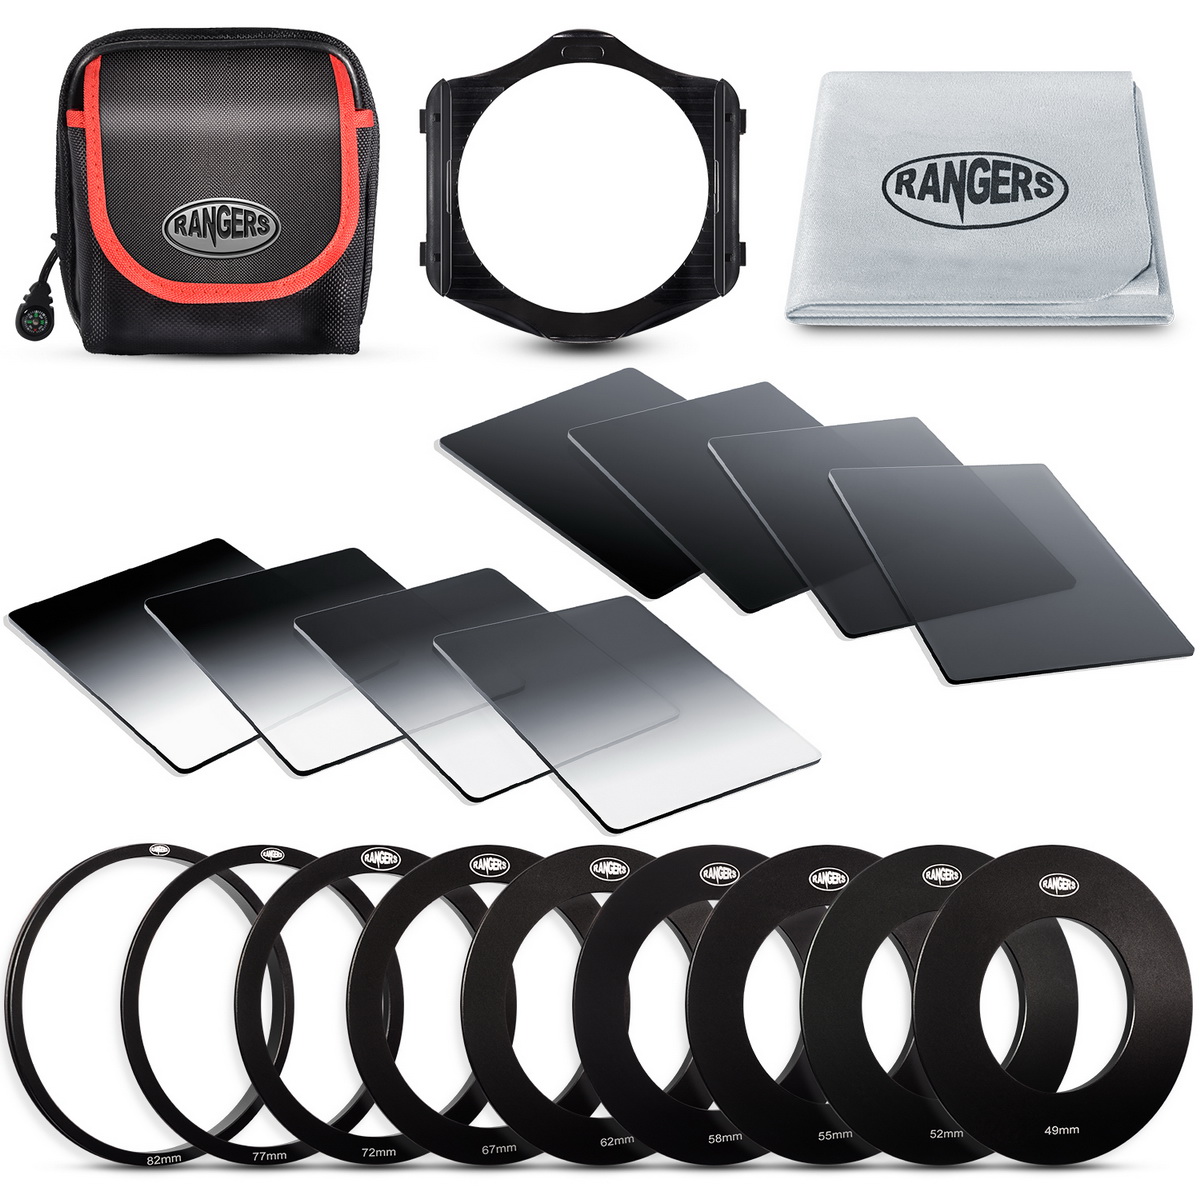
Using Filters
On my webite you can find more articles about using filters. Not to long ago I posted an article about using GND (Graduated Neutral Density) Filters. Click here to read the full article.
CPL or Circular Polarizer
Given the choice, you’d rather have the skies in your pictures a rich blue rather than a pale shade of washed out, right? Well, you are given the choice when you add a polarizing filter to your arsenal of imaging accessories.
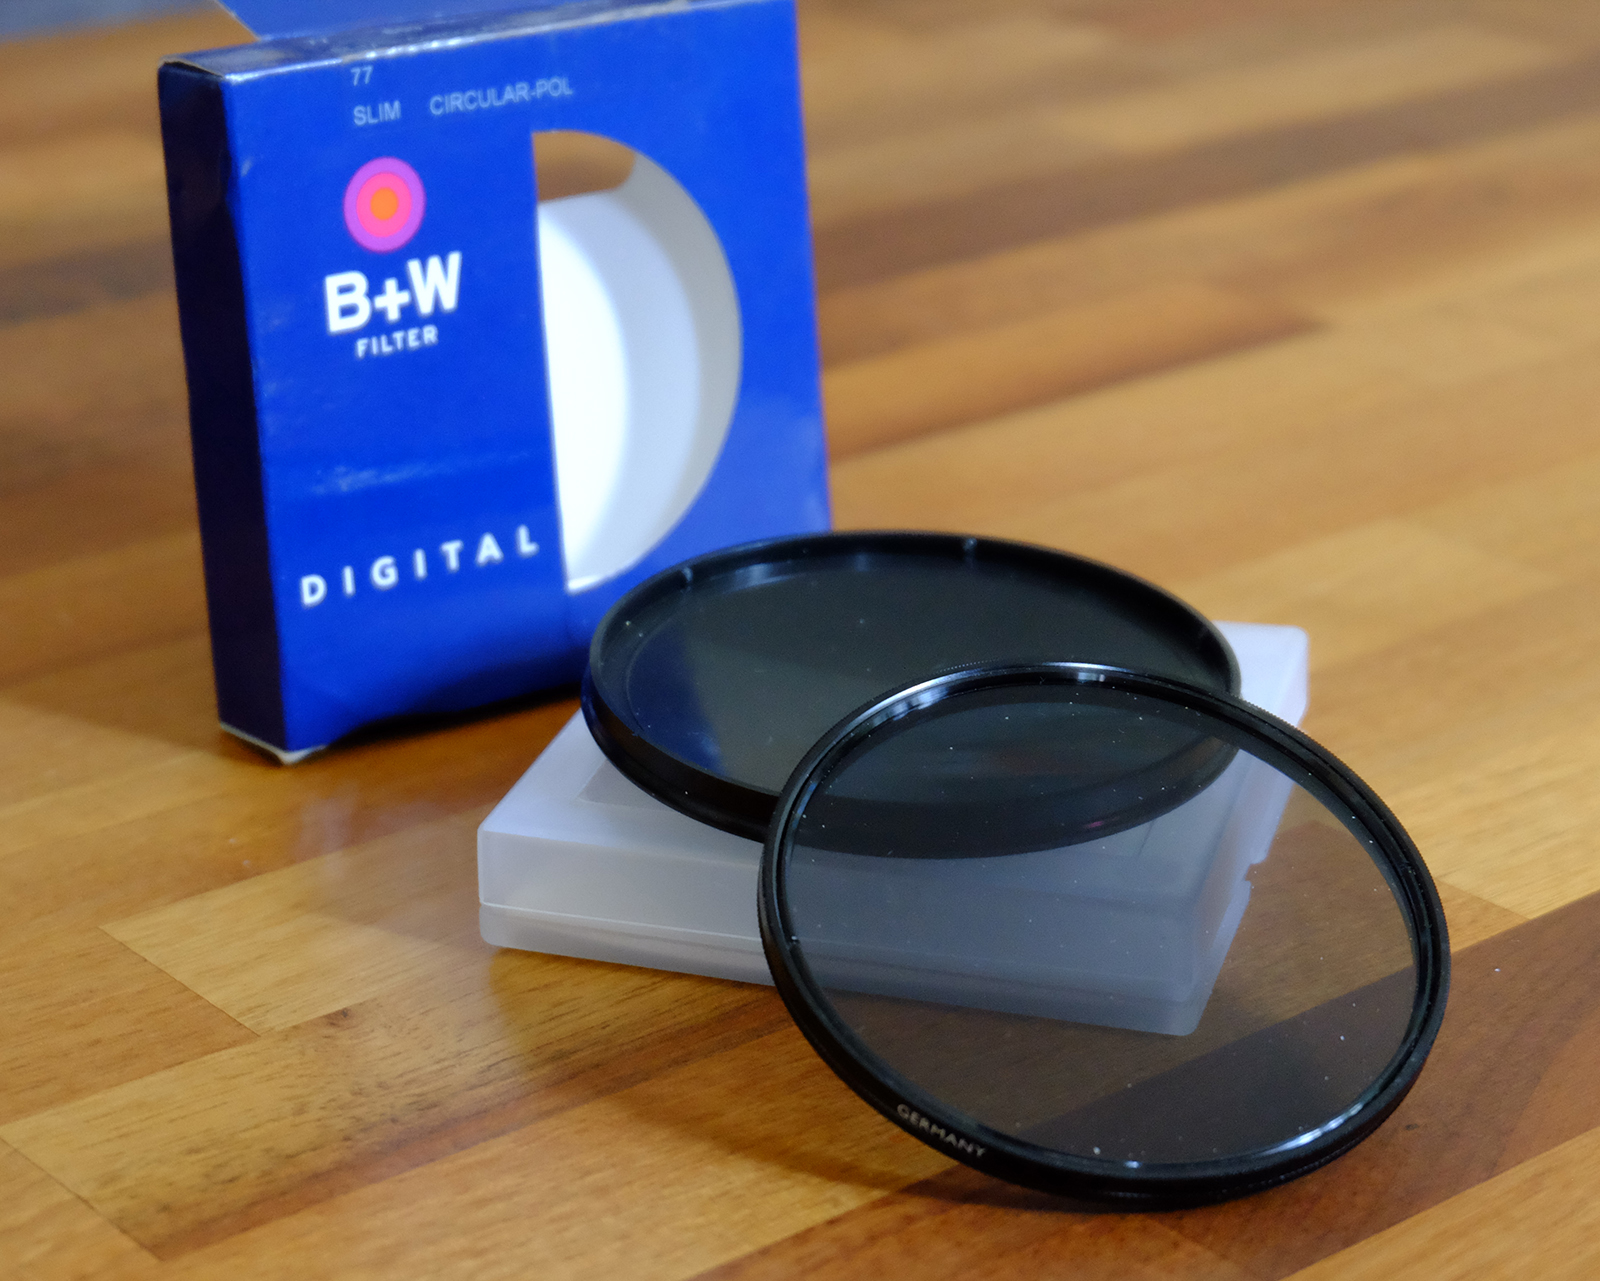
Polarizing filters (often called polarizers) can help you out in another way, too: they can reduce, and sometimes even remove, unwanted reflections from your images, and in doing so often increase color saturation. But mostly they’re used to make blue skies bluer and clouds stand out in dramatic fashion. It’s no wonder that outdoor and nature photographers won’t leave home without them.
A polarizer is actually two pieces of glass set in a filter ring that screws onto your lens. The outer piece rotates, and as you look through the viewfinder you’ll see the effect of the rotation.
Polarizers are often ideal for increasing color saturation and cutting reflections during early-morning shooting when water droplets on flowers or grass or mist in the air scatters light and obscures some of the true color of the scene or the sky. A polarizer can also make a rainbow more visible and help out when you’re photographing foliage by reducing reflections on leaves.
ND and GND filters Neutral Density and Graduated Neutral Density
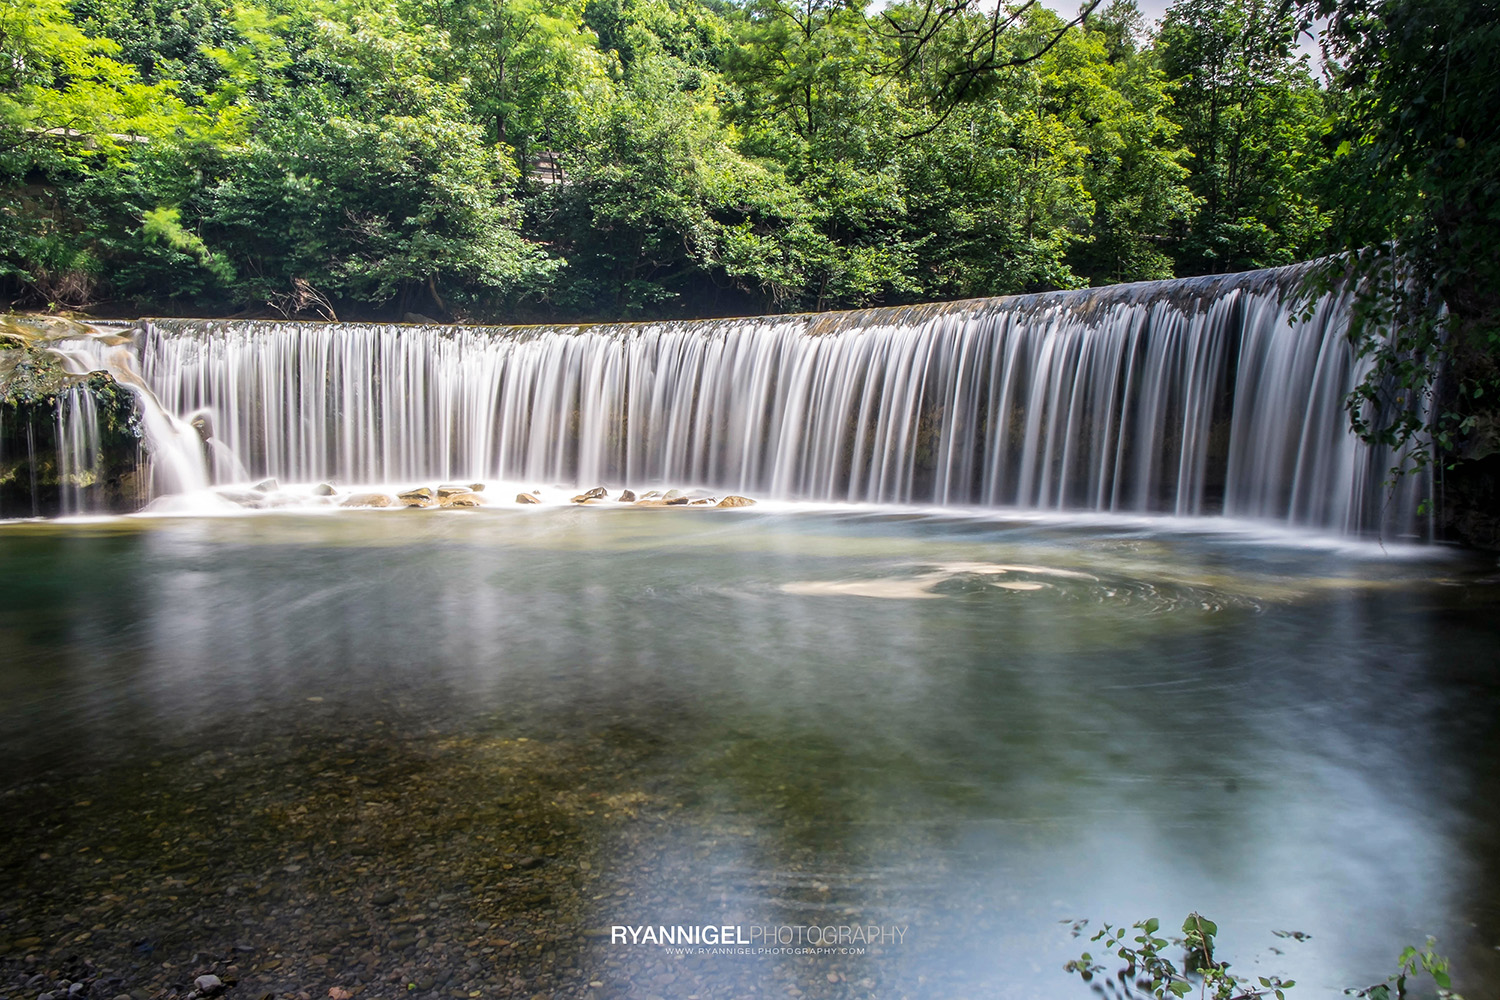
In photography and optics, a neutral-density filter, or ND filter, is a filter that reduces or modifies the intensity of all wavelengths, or colors, of light equally, giving no changes in hue of color rendition. It can be a colorless (clear) or grey filter. The purpose of a standard photographic neutral-density filter is to reduce the amount of light entering the lens. Doing so allows the photographer to select combinations of aperture, exposure time and sensor sensitivity that would otherwise produce overexposed pictures. This is done to achieve effects such as a shallower depth of field or motion blur of a subject in a wider range of situations and atmospheric conditions.
For example, one might wish to photograph a waterfall at a slow shutter speed to create a deliberate motion-blur effect. The photographer might determine that to obtain the desired effect, a shutter speed of ten seconds was needed. On a very bright day, there might be so much light that even at minimal film speed and a minimal aperture, the ten-second shutter speed would let in too much light, and the photo would be overexposed. In this situation, applying an appropriate neutral-density filter is the equivalent of stopping down one or more additional stops, allowing the slower shutter speed and the desired motion-blur effect.
So there you have it
3 Parts for the beginner photographer. I know it is not complete, and I also know that there is much more to tell. But what do you remember from telling and reading ? It is practice and more practice that learns you the skills. So go out start practicing 🙂 But keep all the things in these 3 parts in mind. Good luck !