Review of the Sleeklens Lightroom Presets and Brushes. Sleeklens.com developed a set of presets and brushes for Lightroom and Photoshop. It’s called ‘Through the Woods Workflow’. The set is focussed on the Landscape and Nature photographer. Sleeklens.com is a Danish company and they make brushes, presets, layovers, etc. for Lightroom and Photoshop. You can find various products on their website. For more information about the company click here.
So what is it ?
The package that I will be reviewing is the ‘Through the Woods Workflow’. This is a set of brushes and presets for Lightroom. The set consists of 80 landscape presets and 42 brushes. As I am a landscape photographer I am very curious 🙂 Click here to visit the product page on the sleeklens.com.
Installing
Installing is a breeze. Sleeklens.com offers a clear installation PDF. There is also a video on Youtube available. For people who have never ever (;)) installed presets I recommend you watch and listen to the video. As said the PDF is very clear and i recommend to read it BEFORE you install the brushes. If you still manage to fuck it up, sleeklens.com offers and online chat function on their website. And, as mentioned on their website: second to none customer service. Hear Hear Adobe: you can learn something here. 🙂
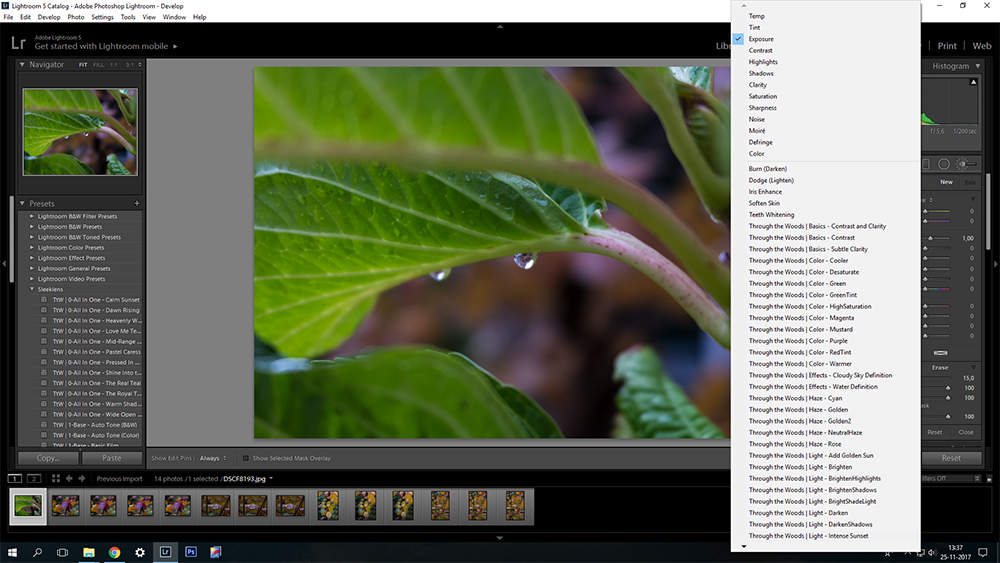
After you have installed the presets and brushes your lightroom looks like this. (When opening the brushes). Note: at the moment I work on a Windows computer with LR 5.7. Normally I work on a Mac with Lightroom CC but i think it doesn’t look any different.
For installation here are some more links.
Using
For me it is also a learning curve. I have never ever used any presets and add-on brushes. Everything I do in LR is custom editing. So i am quite curious how this works out. Let’s load a set of landscape photos and see what we can do !
The Presets
Let’s start with the presets. First of all what is a Preset in LR ? A Preset is a a pre-determined position of all (or some) of the sliders in Lightroom. These positions are saved under a name and being called ‘Preset’. So why use a preset ? If you use presets you save a lot of time in your workflow. For example: when i custom edit a photo it can take upto 20 minutes per photo. With a preset it takes just one click. The set of presets from Sleeklens.com works like this. You can apply multiple presets to 1 photo.
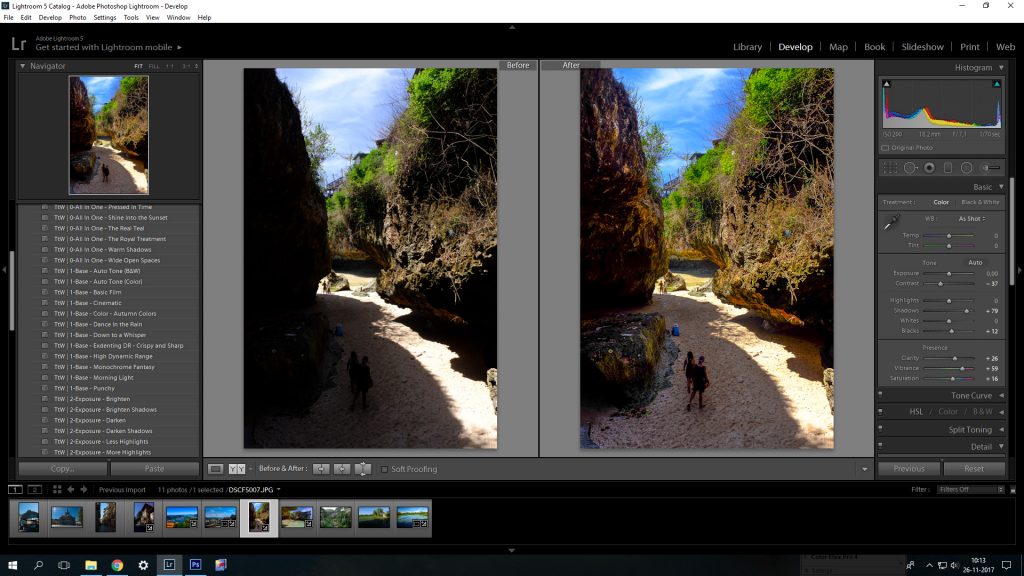
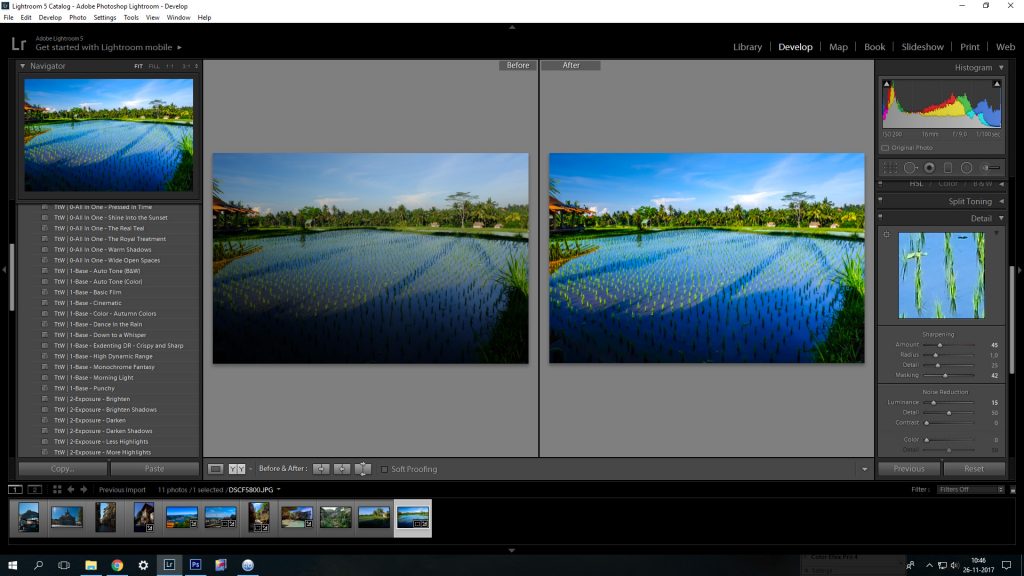
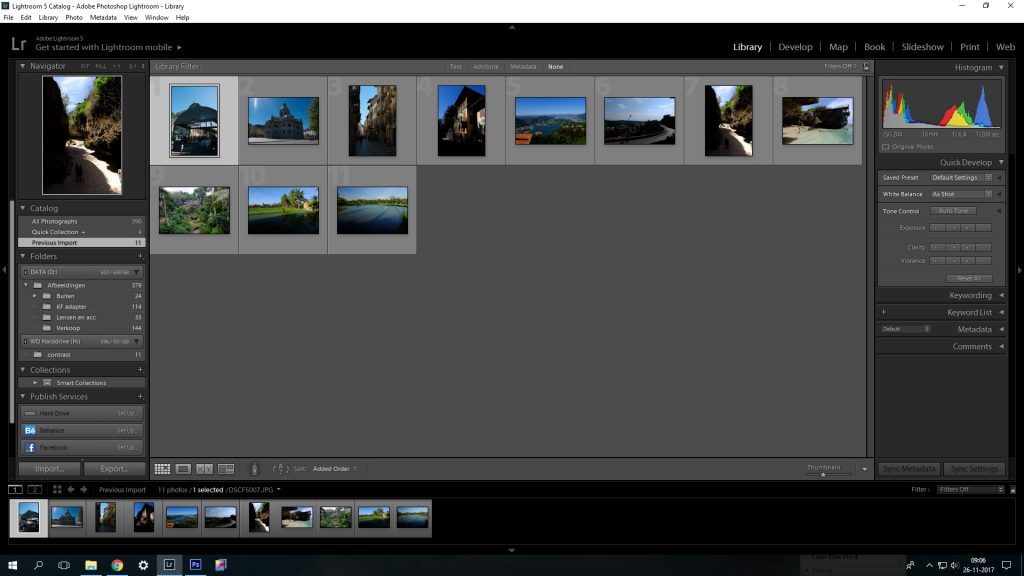
In the image below you can see that i have loaded some contrasty photos in LR. These photos are JPEG and RAW files.
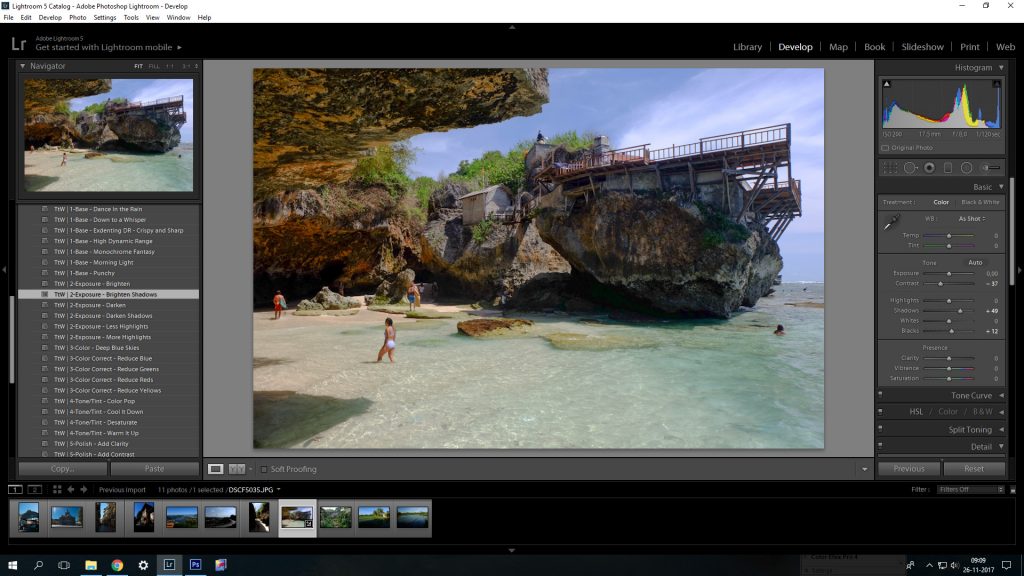
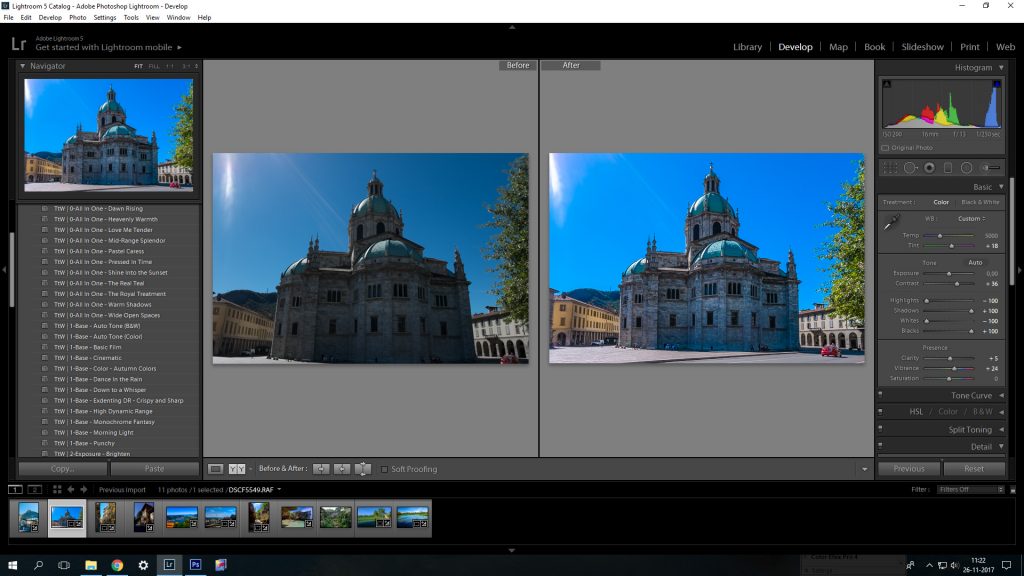
In the image below i applied the ‘Brighten Shadows’ preset. You see quite a difference (look at the before and after image). And that is just 1 preset applied.
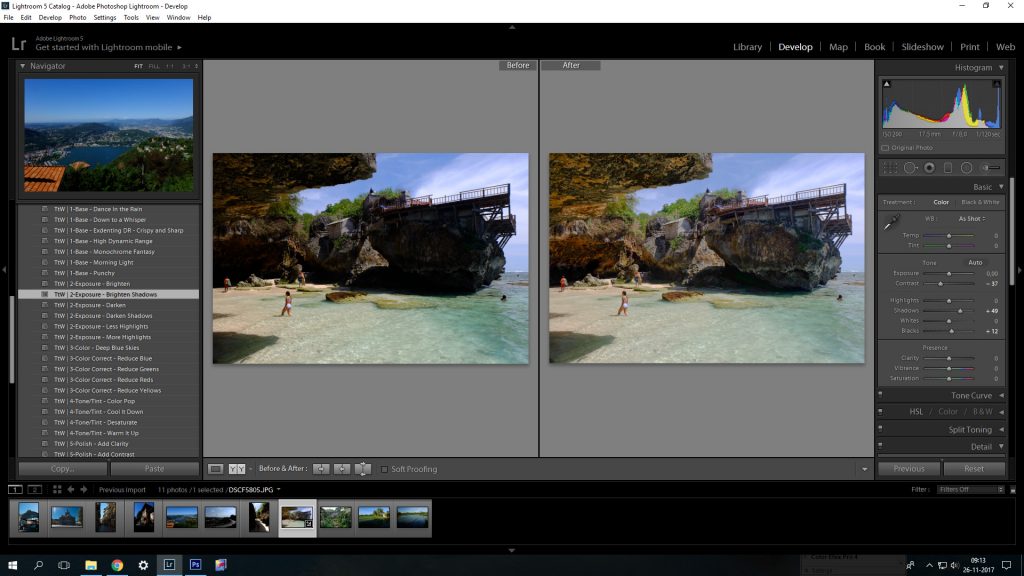
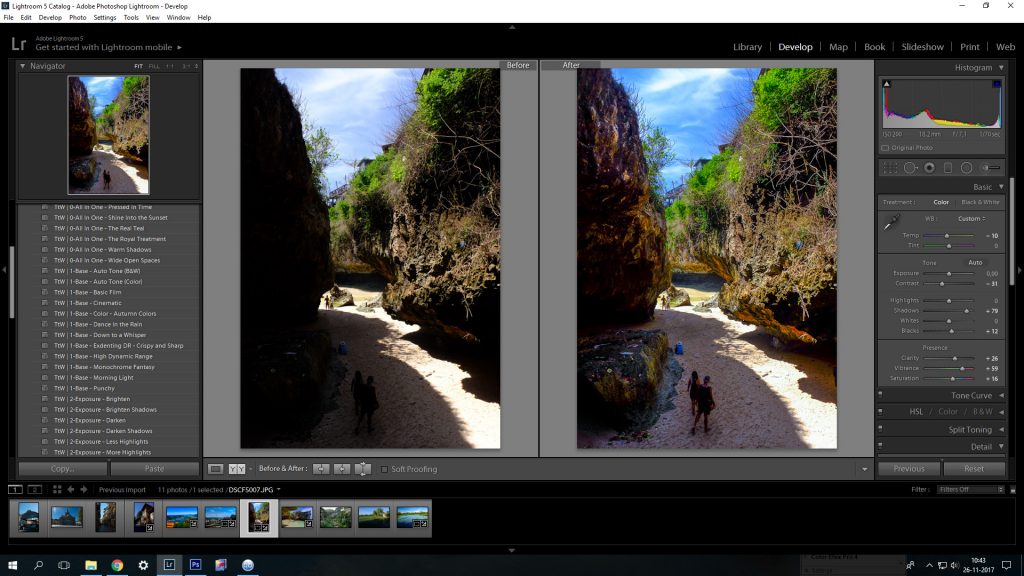
To take things to the next level, i’m going to apply multiple presets and see how this works out.
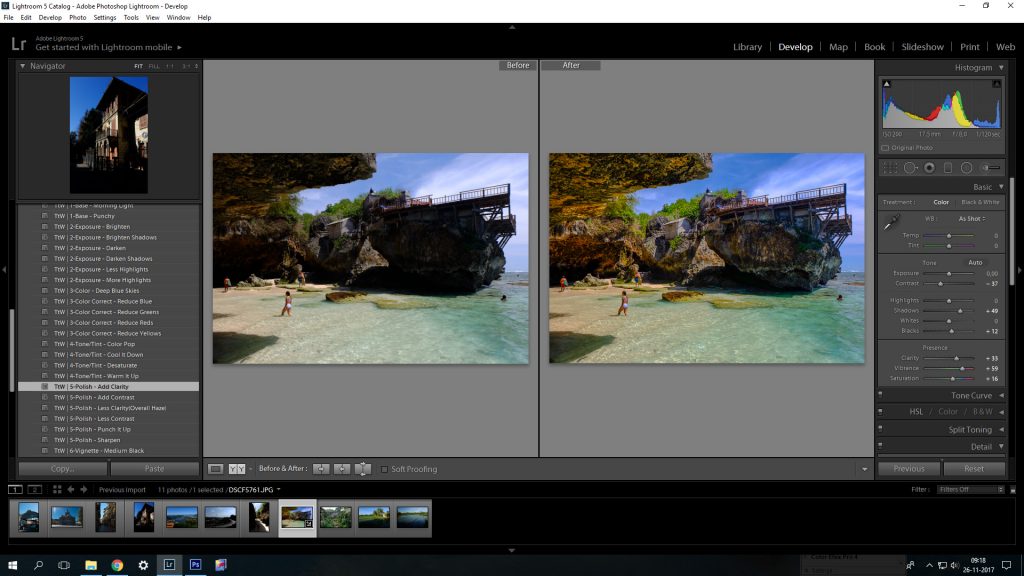
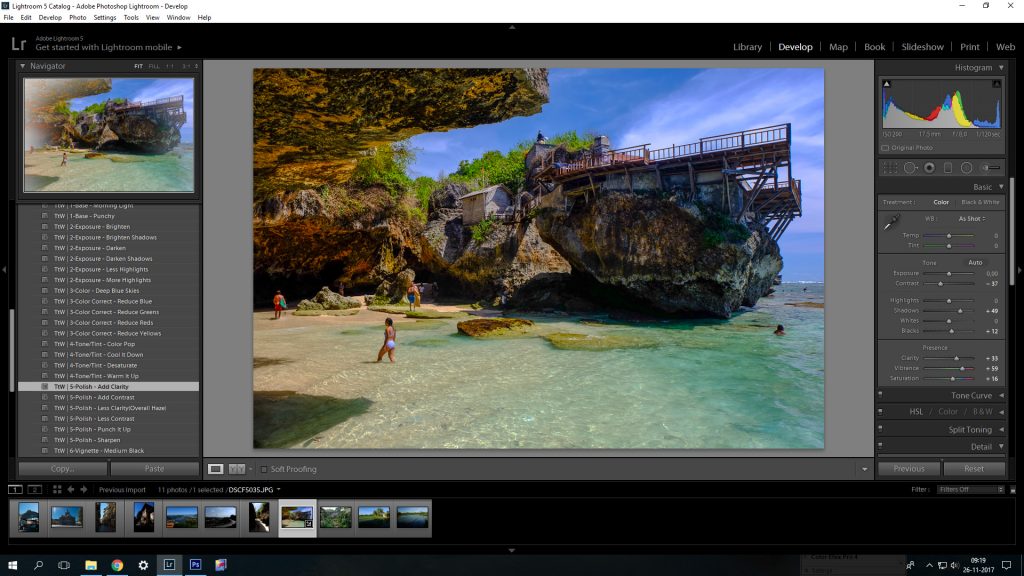
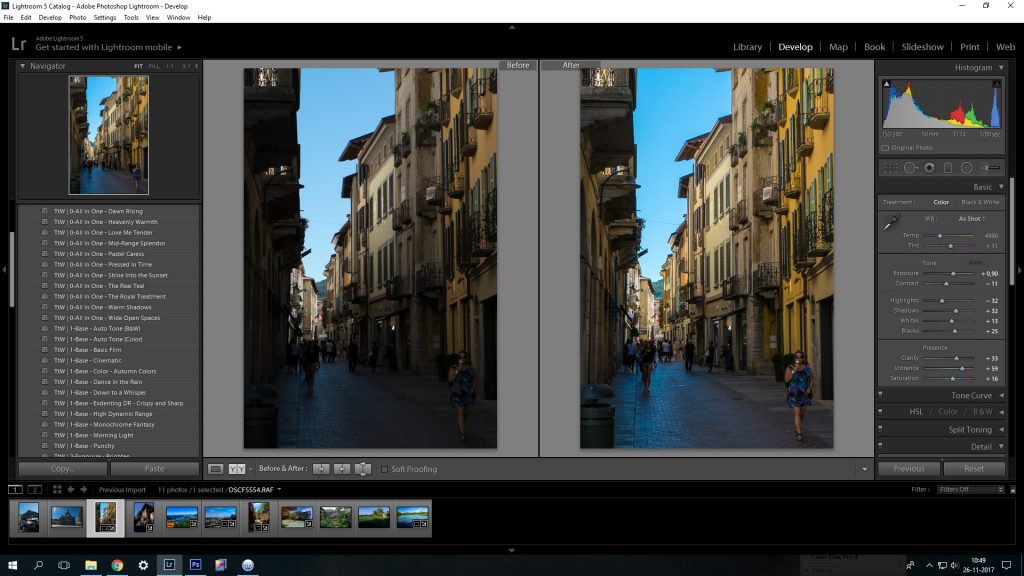
What I did here is applying multiple presets. The presets I used: Brighten Shadows, Less Highlights, Punch it Up, Sharpen and Add Clarity. With just a few clicks on the presets, the image got more punch and looks more attractive. Applying these filters just took 20 seconds. To get the same result with manual editing it probably takes me 10 minutes to come to the same result. This photo need to have some color correction, noise reduction etc. but all in all it saves a lot of time on your workflow. For photographers with a lack of editing time, this can be very helpful.
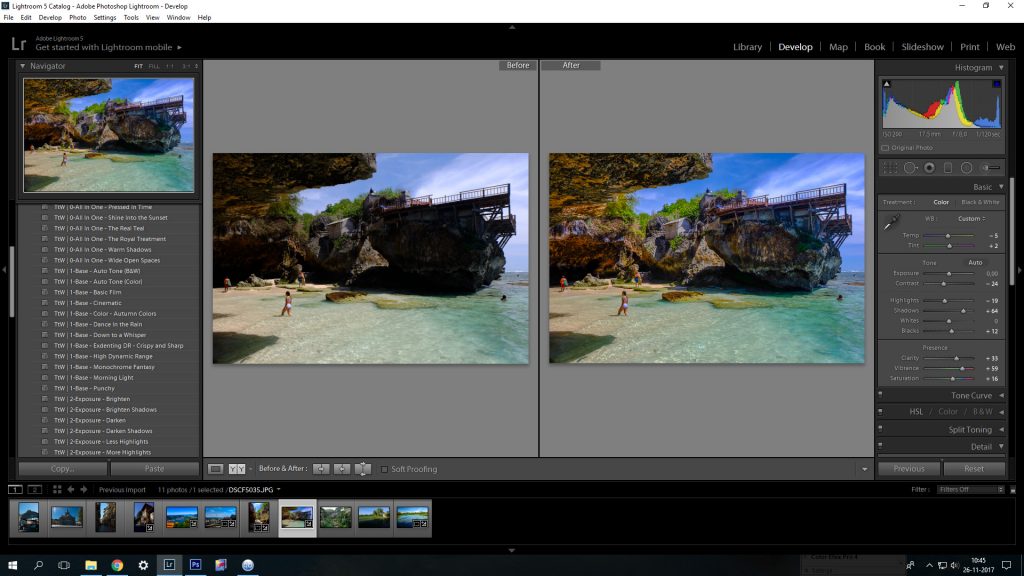
Let’s do another one.
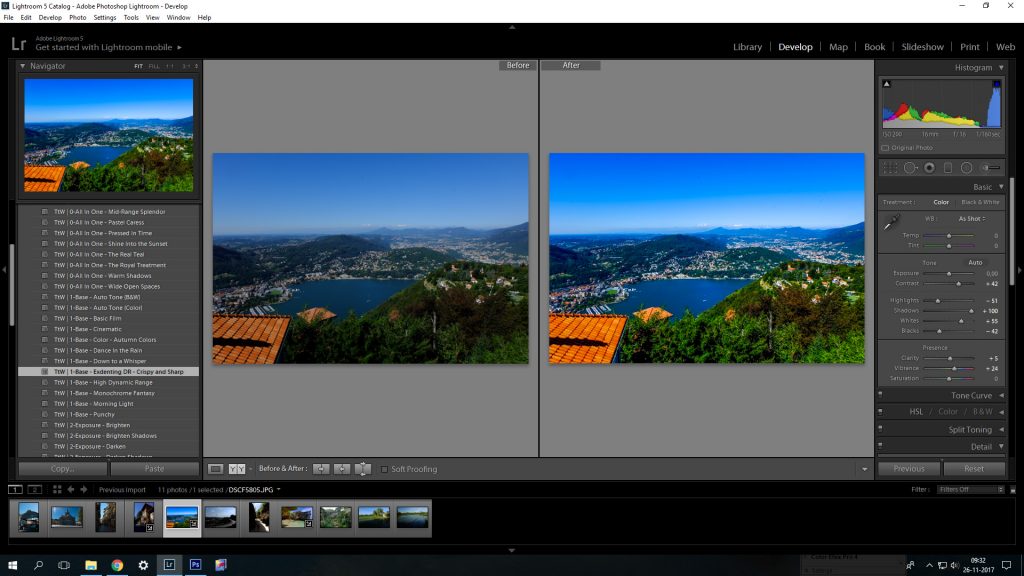
What i did here is applying multiple presets. I tried combos of many but in the end i gave up because i didn’t came to the result that I had in mind. With this photo, manual editing gave me the result i was after.
You see using presets doesn’t always give you the result you wanted. Sometimes it is better to edit manually and just spend the time doing so. Or not ? Well it is a mixed bag. For some photos you can use some presets as a base for further manual editing. You will save time on your workflow. For some photos you can use the presets all the time and for some you just need to do it all manually. These presets are a good addition to your present workflow and makes it possibly quicker.
My biggest miss in the presets is a setting for the Whites and Blacks levels. This straightens out the histogram and you have a contrast correct photo to start with. Sleeklens.com please add this !
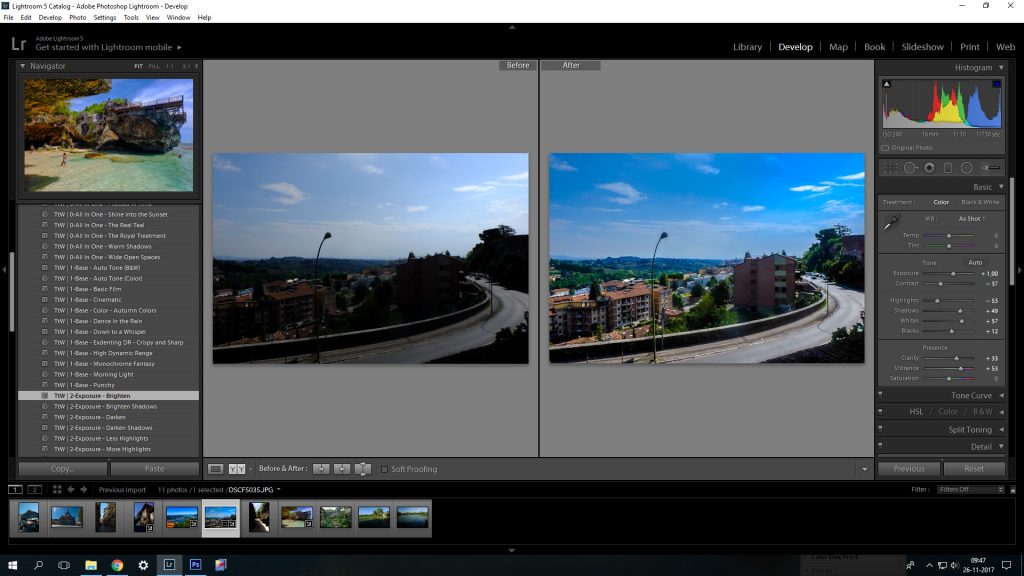
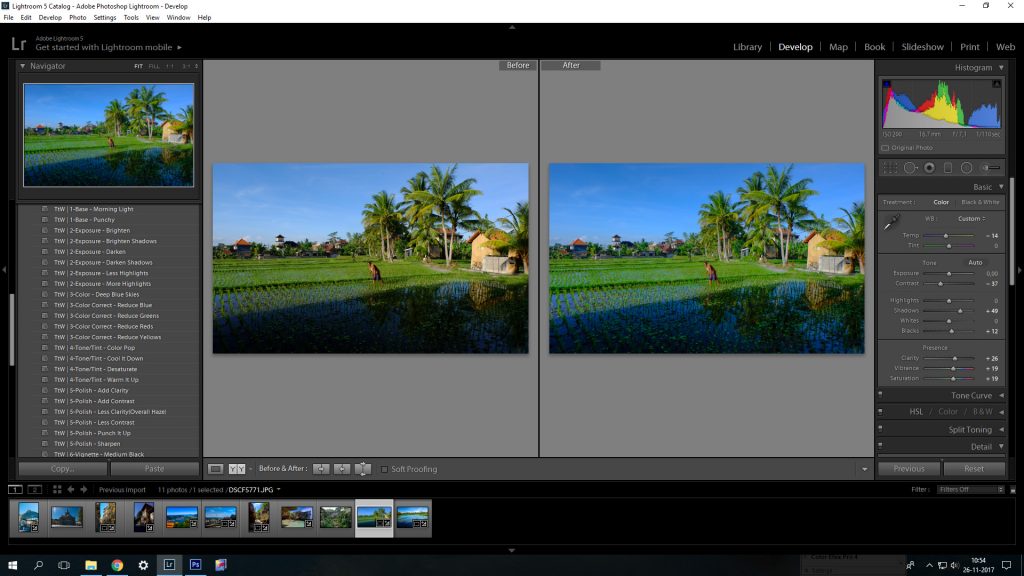
In in this example I have fucked up the exposure completely. As you see the shadows are too dark, sky is ok but not outstanding, shot in JPEG and many more failures. After applying some presets I could get something out of the photo. To me the end result is quite ok, considering the amount of exposure fuck ups. 🙂 The presets CAN save a photo and it shows the flexibility of the presets as well.
Let’s go to Brushes.
The brushes you can use in combination with the presets or you can use them as an add-on when you manually edit photos. The example below is a combo of presets and bruhes. I started to create a base with the presets and finished it off with some brushes and a few manual touches. Took less than 5 minutes editng. The brushes that I used: Contrast and Clarity, Brighten, BrightenShadows and ReduceHighlights.
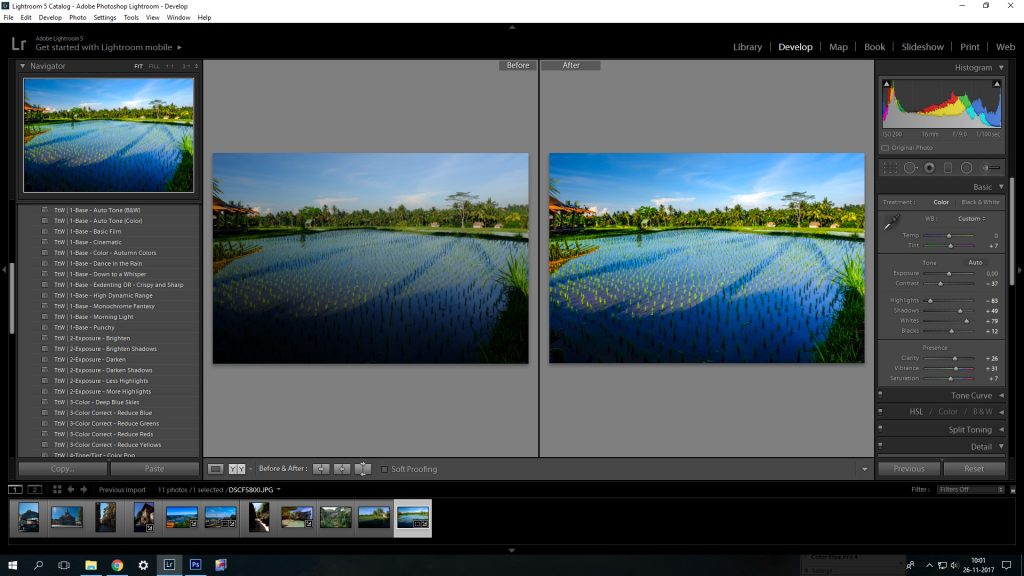
To me the result is very nice. Some color correction and we are good to go !
Here is another example. I started (again) with the presets as a base and finished off with the brushes. Took less than 3 minutes. The result is very ok. What’s left is color correction, noise reduction, crop and a bit detailing.
What I think is that the presets and brushes are time savers in your workflow. And even if you don’t use all of the presets and brushes, or the result is not what it should be, the package lays a good base for further manual editing. The presets and brushes saves a huge amount of time, you just get more done in less time.
Tutorials.
Sleeklens.com has provided me with some YouTube videos. There are 3 videos and I suggest you have a look at them. If you are like me, never worked with presets, these videos come in quite handy. The videos makes you understand how it all works and what you can do with it.
Here is a link to the Sleeklens.com YouTube videos.
Examples
‘Before’ on the left and ‘After’ on the right. If it is to small, click to enlarge.
Conclusions
Sleeklens.com created a nice set of presets and brushes for the landscape/nature/cityscape photographer. It doens’n matter if you have the time or not to do a full manual edit, with these presets and brushes you can lay a base for further manual editing. As you see in the examples the presets and brushes offer quite some flexibility and if it is a bit overdone you can always adjust the sliders used within the presets and brushes. All in all a very flexible product which shortens your workflow without losing quality.
