About 8 years ago i did a review of Darktable. Now, many years later and many improvements later, it’s time for a second review. Since my first review, Darktable has come a long way. I had a quick look and…. It is a powerhouse editing tool. At the end of my first review i came to the conclusion that it still had a (long ?) way to go to become an alternative for Lightroom. My review was in 2017, and now 8 years later, let’s see how Darktable has developed. In my first review of Darktable, i was already exited about what Darktable had to offer. The UI (user interface), the editing tools, the workflow, etc. So let’s see what it can do ! And…. some comparisons with Lightroom !
Version
I’m reviewing Darktable version 5.2.1 for Windows.
Installation
Just go to the Darktable.org website, download the installler for Windows or Mac and follow instructions. E voila, you got Darktable on your PC or Mac. Mac users: read the installation guide !
Using Darktable
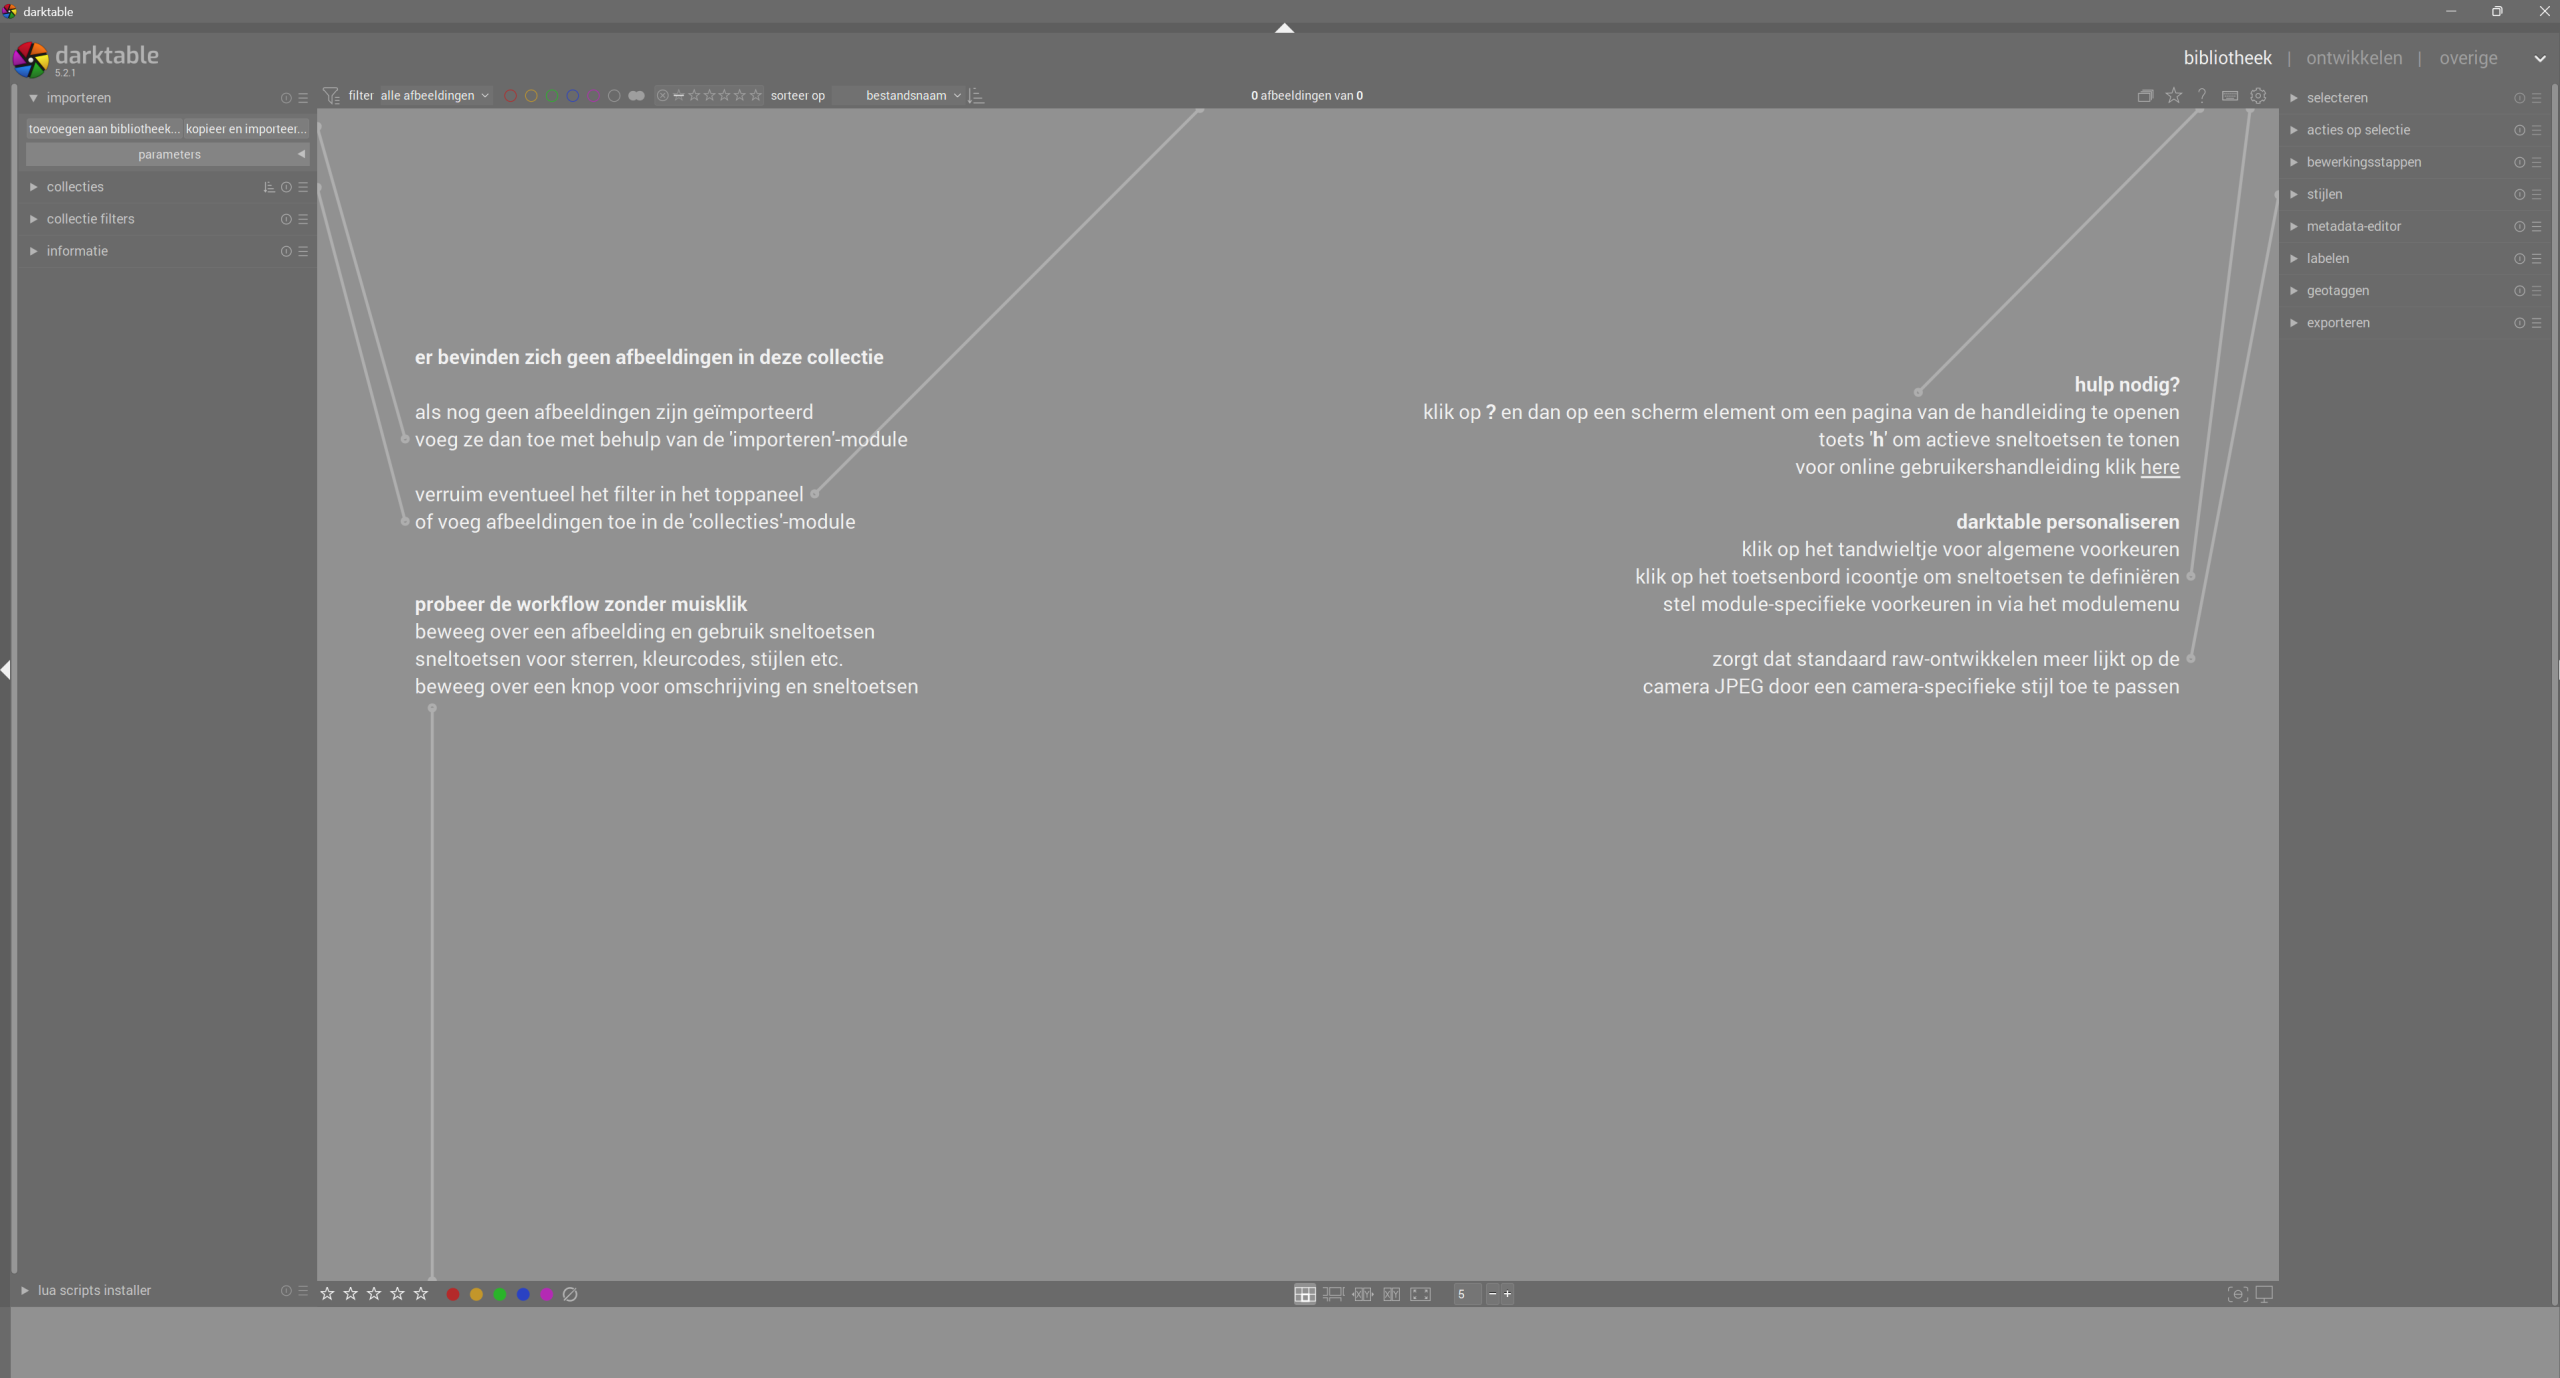
After start up you get the screen below. As you see on the screenshot, mine is in Dutch as i am Dutch, so it takes the language settings from your computer. Now… read that start screen. It got lines pointing towards key functions with a brief explanation what it will do. Very handy ! The UI is quite self explaining what you should do, so READ what you should do.
Main screen layout is a bit like Lightroom. On the right: Libary, Development and Others. On the left: file manager, info, collections. On the bottom: screen layouts. It’s all quite clear, especially when you have worked with Lightroom or an older version of Darktable. If you are very new 🙂 it can be a bit overhelming without reading the tutorial.
Note: in my review 8 years ago, Darktable was free and it still is. So after opening you DONNOT get any paywalls or something. Great job Darktable ! Darktable is still open source software.
Importing Photos
Go to the Import Module (left upper corner, says ‘import’) and search for the photos that you want to import. I got RAW (CR2, RAF) and JPEG files from Canon and Fujifilm, so i will use those. I do have some Nikon NEF files will give them a try too, if i can find them. I don’t have HEIF files so that have to wait for the next review.
Importing photos goes quite quick. I just imported 129 .RAF Fujifilm RAW files, average file size about 20mb. I do this review on my Dell XPS15 4K, with a 16GB memory, Nvidia 1050i graphics, 1TB SSD and Intel i7 processor. So far no problems, let’s see what the Canon CR2 files doing, they are twice the size.
More coming soon !